Dr.Fone User Guide for Dr.Fone Air
Learn how to use Dr.Fone Air to manage, transfer, and mirror your smartphone online.
Start your journey with Dr.Fone Air now.
How To Connect Android/iOS Devices to PC With Dr.Fone Air?
Mobile phone management is a myth believed to be an indecisive, non-lucrative, and slow process. While this is not the case, Wondershare Dr.Fone Air changes the narrative with its quick operations. This guideline will provide an overview of how to connect iOS to PC along with Android with Dr.Fone Air.
Part 1: Connect Android Device to PC
Launch the official website of Dr.Fone Air on your browser and scan the QR code displayed on the screen. Your Android will first install the Dr.Fone Link app on the device.
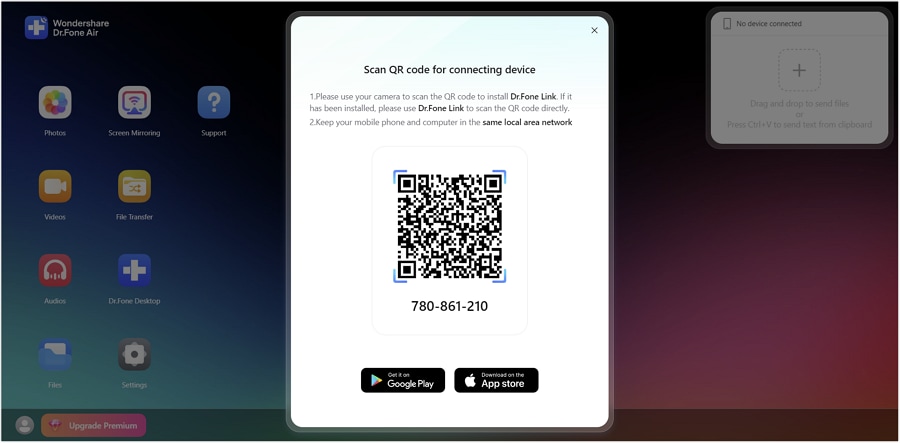
Continue to launch the Dr.Fone Link app for establishing a connection with the Android device. Lead to the “Dr.Fone Air” section and tap on the Scan QR Code icon to scan the QR code displayed on the browser's screen.
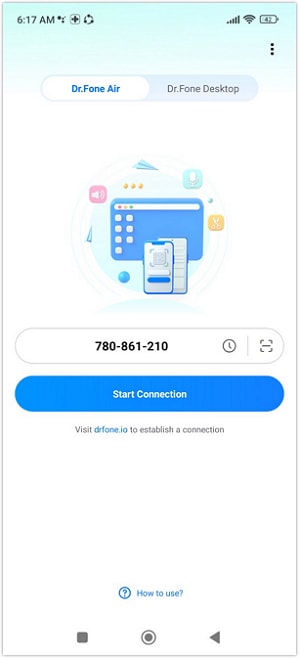
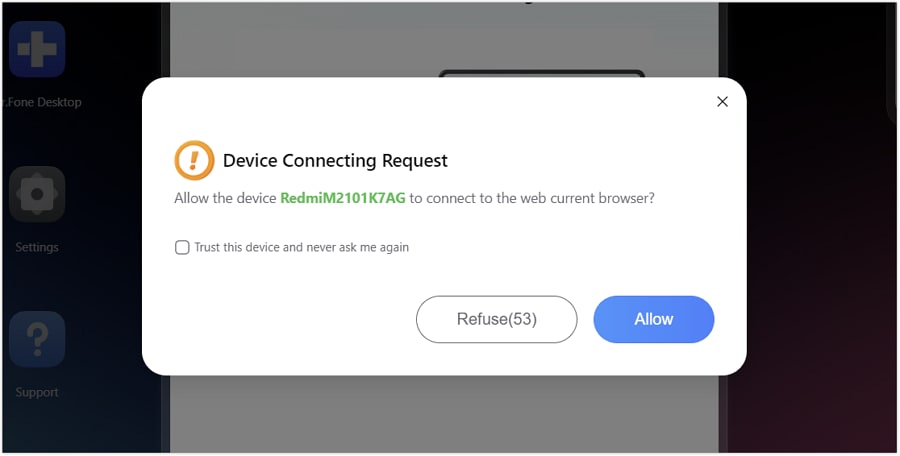
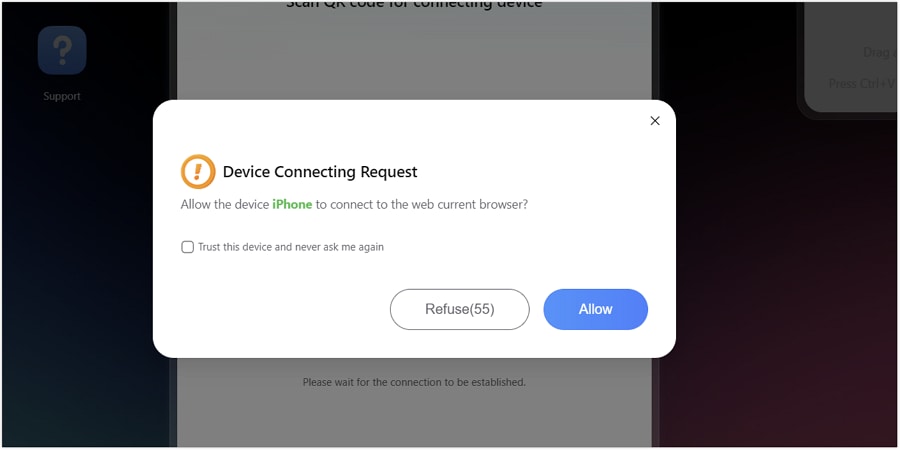
On scanning the QR code, continue to the browser’s screen to tap Allow on the prompt that will be used to connect Android to PC.
Part 2: Connect iOS Device to PC
You have to initialize the process by opening your camera and scanning the QR code displayed on the screen. This will install the official application of Dr.Fone Link on your iDevice.
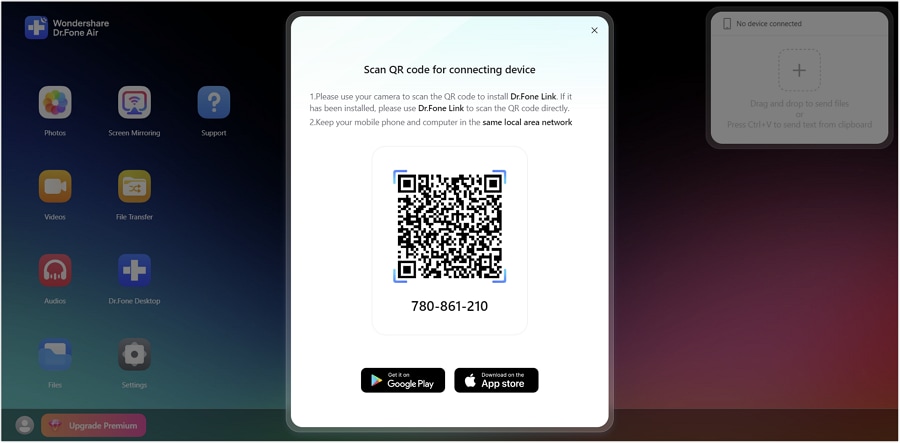
After downloading and installing the Dr.Fone Link app on your iDevice, continue to launch it. Proceed to the Dr.Fone Link section from the home screen of the application and continue to tap the Scan QR Code icon.
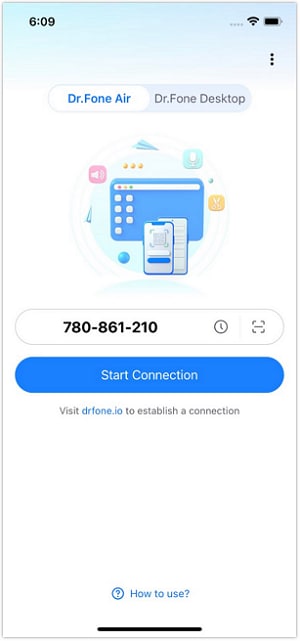
As you successfully scan the QR code on the screen, the iDevice will successfully connect to the computer. However, you will have to approve the connection by tapping the Allow option on the prompt to connect iOS to PC.
Need help?
You might find the answer to your question in the FAQ or additional information below:

