Dr.Fone User Guide for Data Eraser
Learn how to use Data Eraser to erase mobile device data permanently and completely to protect your privacy. Download the latest version of Dr.Fone and get started now.
How To Completely and Permanently Wipe Android Device?
Whenever you think of selling your smartphone, you have to take precautions that can protect your data's integrity. In this case, people believe that factory resetting can give you optimal results. However, this is not the case, as wiping your Android device entirely is essential. This guide will help you properly erase Android phones or tablets with Dr.Fone - Data Eraser.
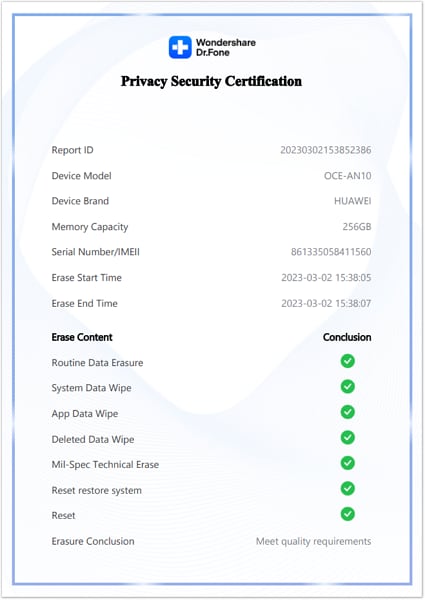
You can easily wipe your Android phone using the Dr.Fone - Data Eraser tool for your Android device in a few steps. However, to exempt all doubts involving the device's data, Dr.Fone provides a comprehensive erasure report that can be accessed after the eraser process. The data that was erased through this service is non-recoverable. Follow the guidelines below to erase Android phone with Dr.Fone - Data Eraser (Android):
Manage Your Phone Wherever You Go
You need to start the process by connecting your Android device to the computer via USB. After successfully connecting your Android phone, continue to the Toolbox > Data Eraser path to launch the tool.
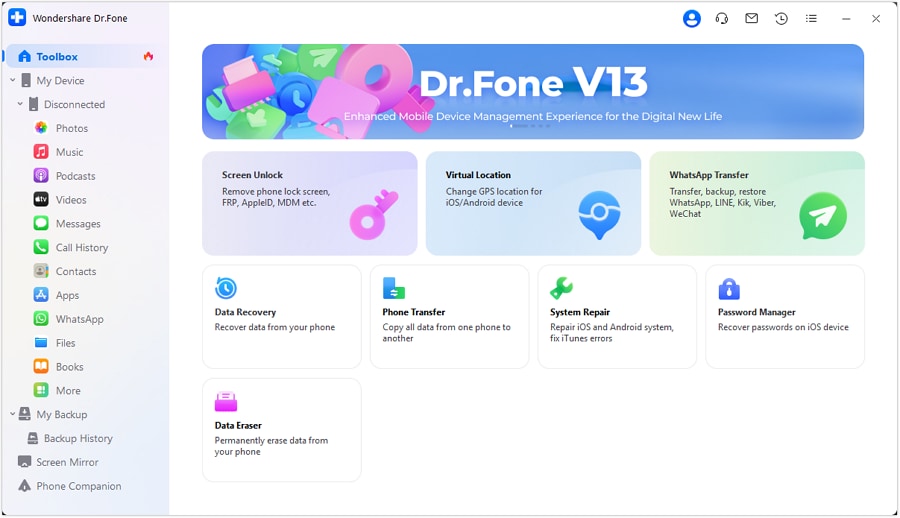
* Dr.Fone Mac version still has the old interface, but it does not affect the use of Dr.Fone function, we will update it as soon as possible.
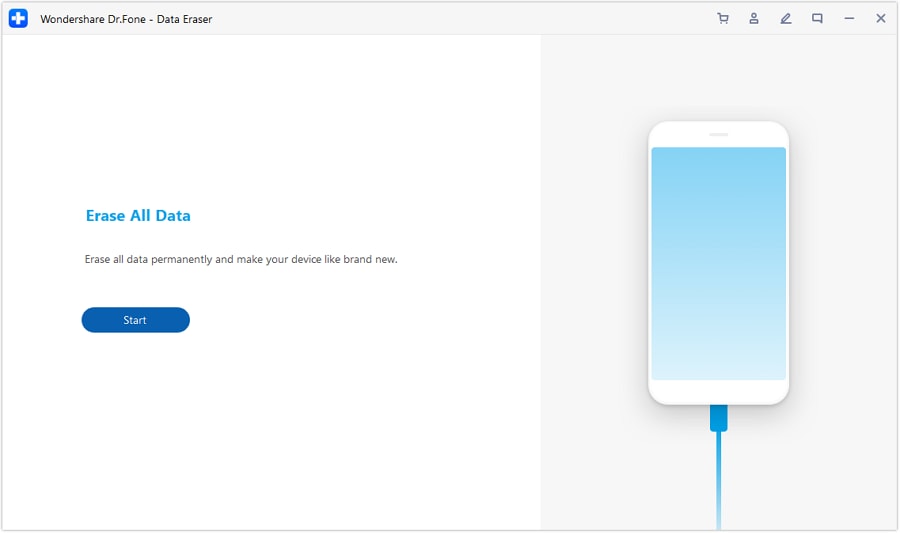
As a new window launches for the particular tool, continue to click Start to initiate the process.
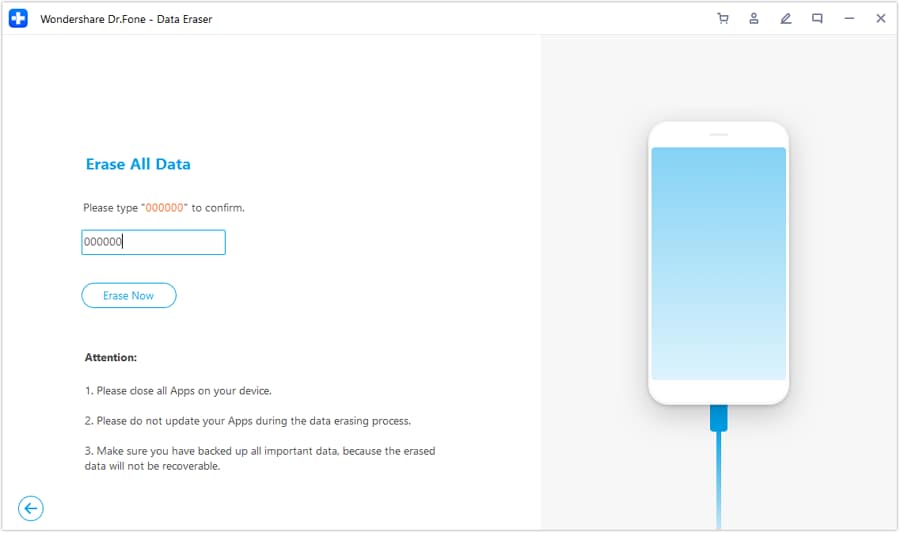
To erase all data, you have to confirm the process by typing in the code that will be used to execute the process. On typing the code, click Erase Now.
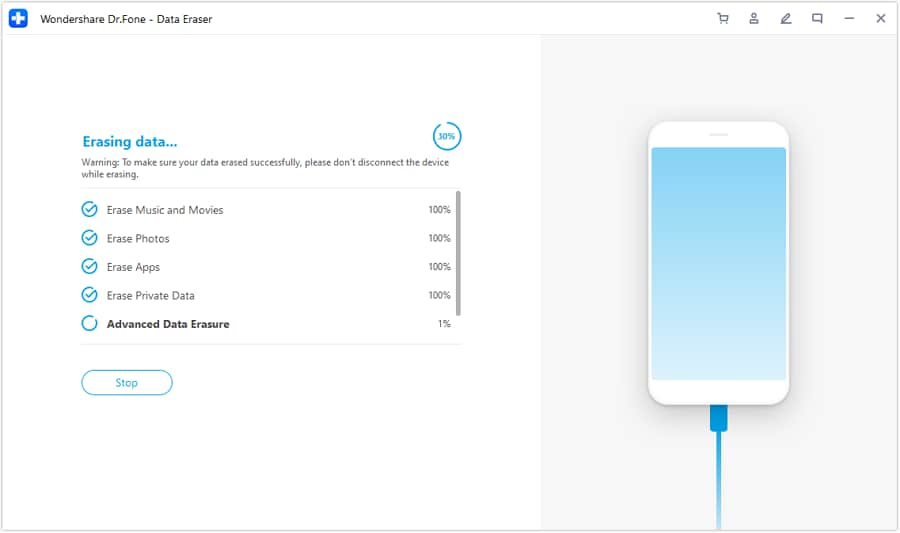
The next screen displays the entire completion process, which updates as it concludes a portion of the process. If you wish to hold off the process, click Stop.
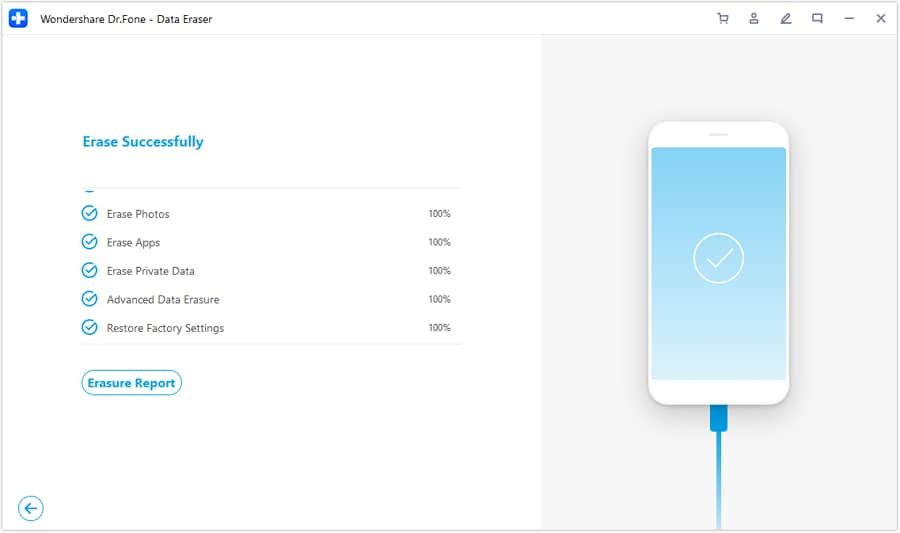
Once the data is erased, the window appears with the appropriate message. Click Erasure Report to check what data types have been erased.
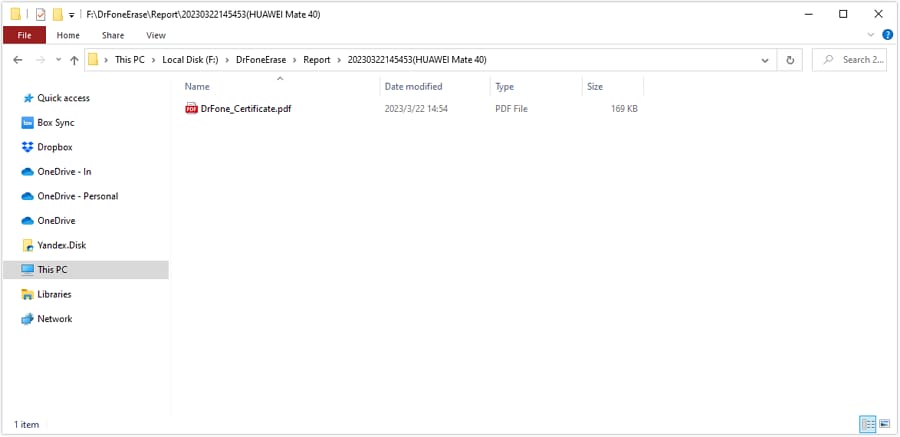
The new window leads to the respective file navigation of the erasure report saved for the particular device.
As you open the report, you can find all relevant details about the device and the data that is erased from the device successfully.
Need help?
You might find the answer to your question in the FAQ or additional information below: