How to Transfer Data from iPhone to iPhone or Android Phones
Seamless phone-to-phone data transfers are crucial, especially when switching between devices like iPhones and Androids. As we rely more on our smartphones for personal and professional use, transferring important data—such as contacts, photos, and apps—without losing any information becomes essential.
Dr.Fone offers an innovative solution to simplify this transfer process. With its user-friendly interface and powerful features, Dr.Fone - Phone to Phone Transfer ensures that moving data between different platforms is efficient and hassle-free.
Index
01 Launch and Select Transfer Type
To kick off the data transfer process, you need to start by opening the Dr.Fone application. This straightforward app is designed to make the migration between devices seamless, ensuring that you can easily access all necessary functions. By selecting the right transfer type, you lay the groundwork for a smooth data transfer.
Open the Dr.Fone app and click on "Transfer."
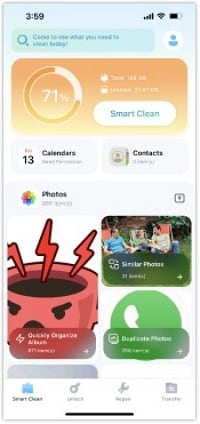
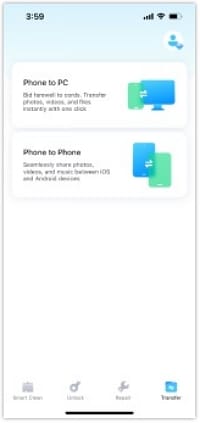
Choose the "Phone to Phone" option to begin your data transfer journey.
02 Initiate Transfer and Select Items
Now that you’ve selected the transfer type, it’s time to initiate the process and specify what you want to move. This step allows you to customize your transfer, ensuring you only select the data that matters most. Dr.Fone supports a wide range of file types, making it easy to manage your information.
In the Tab bar, select "Send" to access the transfer page.
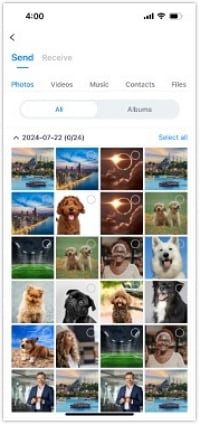
Choose the specific items you want to transfer. Dr.Fone allows you to select various data types, including:
- Photos
- Videos
- Music
- Contacts
- FIies
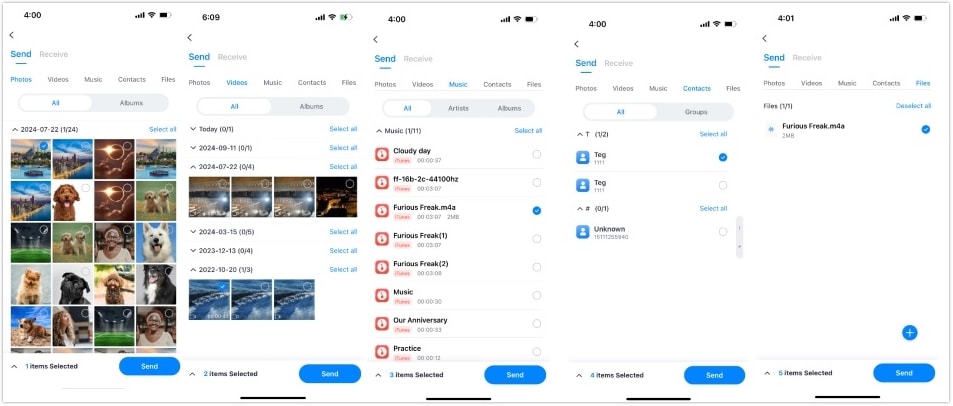
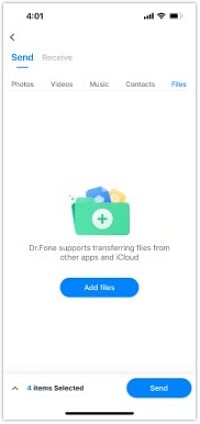
Additionally, Dr.Fone supports transferring files from other apps or directly from iCloud, ensuring that all your important data is accounted for.
03 Send and Receive Data
With your items selected, the next step is to send and receive the data. This phase involves generating a QR code for quick and easy connection between devices. Ensuring that both phones are set up correctly will facilitate a smooth transfer.
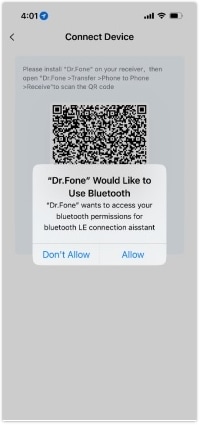
Click the "Send" button, which will take you to the QR code page. Ensure you allow Bluetooth permissions when prompted for a smooth transfer.
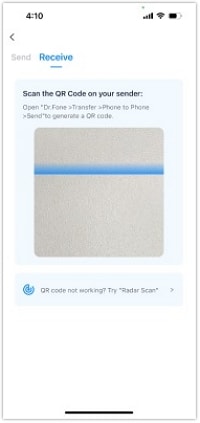
On the receiving phone, open the Dr.Fone app, select the "Receive" identity, and scan the QR code. This will direct the receiving party to a connecting page, ready for data transfer.
04 Monitor Transfer and Completion
Once the transfer is underway, it’s important to monitor its progress to ensure everything goes smoothly. This step not only allows you to see how much data has been sent but also provides options for reversing the transfer if needed. Completing this final stage confirms that all data has been successfully moved.
Once connected, the transfer will commence, and the sending party can see the real-time progress of the data being sent.
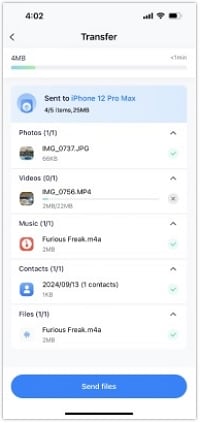
If needed, the receiving party can initiate a reverse transfer by clicking the "Send Files" button and selecting items to send back.
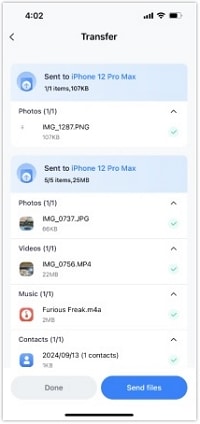
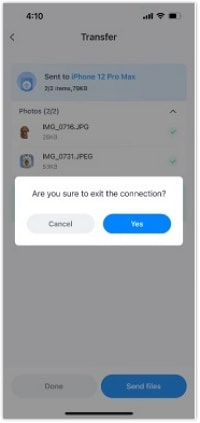
After the transfer is complete, the receiving party will see a confirmation page. Click the "Yes" button to return to the scanning page.
Transferring data from one iPhone to another or to an Android phone doesn't have to be a complicated process. With Dr.Fone, you can easily navigate through each step, ensuring all your important information is securely moved to your new device. Embrace the convenience of technology and keep your digital life intact as you switch phones.
Need help?
You might find the answer to your question in the FAQ or additional information below:


