How to Get Music Off iPhone With Ease?
Aug 30, 2024 • Filed to: Manage Device Data • Proven solutions
iPhone owners have a lot of music, and while that is great, managing that vast library can be tough. Be it creating playlists, adding new music taking out old songs, managing such large volumes of music is tough even for iOS backed devices. Managing music takes up time, and functions can get repetitive. Also if you aren’t able to manage it well, the lack of memory in your iPhone can be a big problem for you.
However, with the right tools and proper knowledge of platforms like iTunes, it is possible to manage large music playlists easily. We, in this article, will go through how to manage music. We will cover how to take music off iPhone onto a computer, add music and improve functionality.
We highly recommend you to go through this article in detail to understand the best ways to get music off iPhone.
Part 1: Get music off iPhone onto Computer
There are times where you have to get music off your iPhone. But the process is rather monotonous and takes time unnecessarily. For iPhone users, it's not easy to transfer music from iPhone to PC just by cutting and pasting the file onto your PC. Things does not work the same as that on Android devices, especially when you want to shift a large playlist from iOS device to PC. If you want to move music from iPhone to PC efficiently, you will need the right toolkit. There are several methods to move content. These methods include:
- • Bluetooth
- • USB
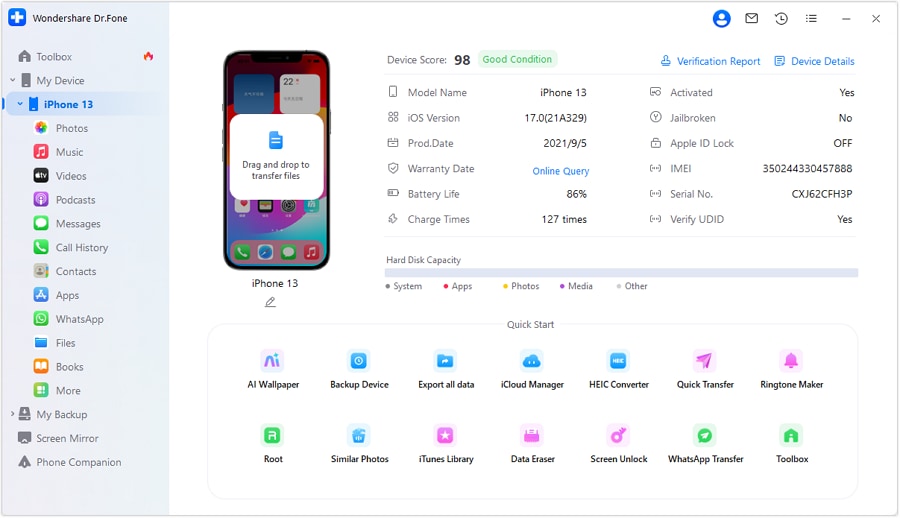
- • Dr.Fone - Phone Manager (iOS)
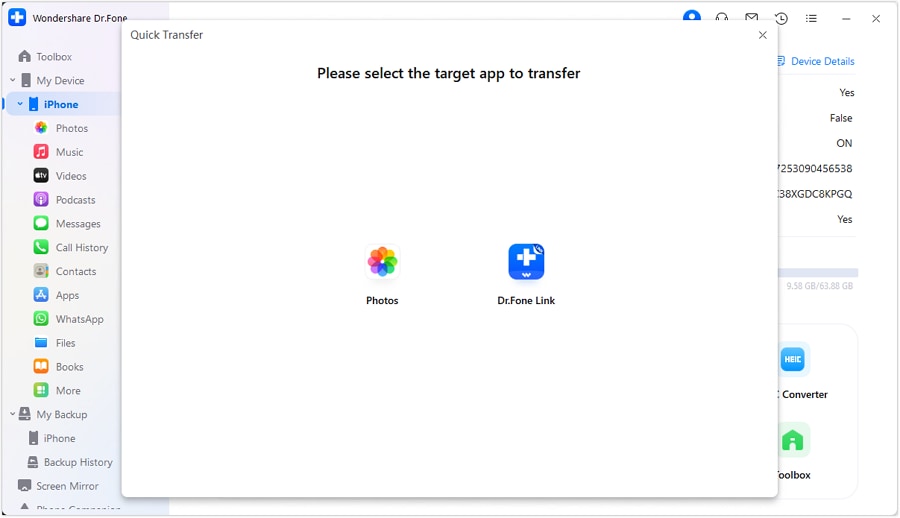
Bluetooth, email, and USB are excellent methods for shifting content files, but the best method is Dr.Fone - Phone Manager (iOS). The tool is specially designed to transfer files from iOS device to PC. Dr.Fone - Phone Manager (iOS) makes the transfer of large music files a seamless process, completed in a matter of seconds. Use the tool to transfer music from your iPhone to your PC, iTunes and other devices, without additional work. If you want a transfer tool that is not only accessible but safe, use Dr.Fone - Phone Manager (iOS).

Dr.Fone - Phone Manager (iOS)
Get Music off iPhone/iPad/iPod without iTunes
- Transfer, manage, export/import your music, photos, videos, contacts, SMS, Apps etc.
- Backup your music, photos, videos, contacts, SMS, Apps etc. to computer and restore them easily.
- Transfer music, photos, videos, contacts, messages, etc from one smartphone to another.
- Transfer media files between iOS devices and iTunes.
- Fully compatible with iOS 7, iOS 8, iOS 9, iOS 10, iOS 11 and iPod.
Let us examine step-by-step how to get music off iPhone onto the computer with Dr.Fone - Phone Manager (iOS).
Step 1- To take music off iPhone, make sure that you download and install Dr.Fone - Phone Manager (iOS). Thereby open the software and run on your desktop. Once ready, ensure that your iPhone is plugged in via USB cable.

Step 2 – Visit the Music section, under which you will see a list of music file saved in the iOS device, here you can select the content you wish to switch from your iOS device. You can select all or as per the requirement.

Step 3 – Select the icon for exporting content. ‘Export to PC’.

Step 4 – Select a destination folder and click ‘Ok’. Wait till all the files have been exported.

Part 2: Get music off iPhone onto iTunes
For some iPhone owners, iTunes is the only platform to store music. Unfortunately, the iTunes app does not have the same level of accessibility as its desktop counterpart. To make changes to your playlist, you need to use iTunes on Mac, as opposed to the mobile version. Hence, it makes sense that at some point, you want to transfer music to iTunes on your desktop computer.
Fortunately, there is a simple, efficient way to get music off iPhone onto iTunes. Dr.Fone - Phone Manager (iOS) is the best tool to facilitate transfers from iOS device to iTunes. This software helps you save the time, especially when you are dealing with a large music playlist. You can manage your music playlist on both iOS devices and iTunes using Dr.Fone - Phone Manager (iOS).
We will illustrate below how to get music off iPhone and onto iTunes with Dr.Fone - Phone Manager (iOS), you simply need to follow these steps.
Step 1 - Connect the device, and activate Dr.Fone - Phone Manager (iOS). You will be taken to a menu screen.

Step 2 – Select ‘Transfer Device Media to iTunes’ Dr.Fone will then scan iTunes and your iOS device to detect the difference in file types.
Step 3 – Select the files you want to transfer. Click on ‘Start’ to move onto the next step in the process.

Step 4 – Dr.Fone will take a few minutes to transfer all music files to iTunes.
Step 5 – You will get a notice informing you when the transaction is complete.

Taking music off iPhone was never so easy, isn’t that right? Now in the next section, we will discuss some tips to manage our music easily on our iOS device. Keep reading.
Part 3: Tips for Managing Music on iPhone
Managing music can be a pain for owners of iPhone. This is because the iTunes app for iOS devices is not as comprehensive feature-wise compared to its desktop counterpart. For some music lovers, their playlists can be extremely large and managing the vast volume of content is obviously challenging. Hence, we offer some tips to help you manage your music and make the most of iTunes.
1. Optimize music storage on iOS Devices
The best way to manage a large volume of music is to optimize storage on your iOS device. Your iOS device allows you to optimize music storage in a series of simple steps. Go to Settings > Music > Optimize Storage. Optimize Storage will automatically delete tracks to save space. You can also set how much space is dedicated to downloaded music. For example, if you choose to dedicate 4GB for downloaded music for offline listening, you will have 800 tracks.
2. Sync iTunes Folder
Most people get their music, not from iTunes but from tertiary sources like CDs and other online sources. To add or take music off iPhone, you have to manually add the music to iTunes. The process duplicates songs on iTunes, this unnecessarily takes up space on your hard disk. You can improve the process by having iTunes sync music without duplicating files. This is done by adding music to a ‘Watch Folder’. The folder prevents file duplication when uploading onto iTunes.
3. Creating playlist
Some people listen to music when they are working, studying or relaxing. Creating the right playlist for these moments can take a lot of time because compiling the right tracks takes time. However, by using iTunes you can make the entire process easier by automating it. Use the ‘iTunes Genius’ feature which automatically compiles playlists, based on how they sound together or share the same genre.
Creating and editing music playlists on your iPhone is a breeze provided you have the right tools. Hence, we recommended the Dr.Fone - Phone Manager (iOS). This toolkit lets you transport content seamlessly from one iOS smartphone to another. Using the Dr.Fone - Phone Manager (iOS) you can easily obtain music or get music off iPhone onto the computer. Proper management of playlists with Dr.Fone improves your iPhone’s performance and saves time managing a large volume of music. If you are interested in using the Transfer tool for iOS devices, then visit the website for extra details. There is even a comprehensive guide that covers all possible functions with the Dr.Fone - Phone Manager (iOS) toolkit.
iPhone Music
- Download Music to iOS
- 1. Download Music to iPhone
- 2. Download Songs on iPhone/iPad/iPod
- 3. Download Free Music on iPhone
- 4. Download on iPhone without iTunes
- Make iPhone Ringtones
- 1. Set Voice Memo a Ringtone on iPhone
- 2. Ringtone Apps to Download Ringtones
- 3. Add Custom Ringtones to iPhone
- 4. iPhone Ringtone Apps
- 5. Ringtone Maker Apps for iPhone
- 6. Change iPhone Alarm Volume
- 7. Set A Ringtone on iPhone
- 8. Set MP3 As Ringtone iPhone
- 9. Set Ringtone iPhone
- 10. Make Custom Text Tones for iPhone
- 11. Websites for Free iPhone Ringtones
- 12. Move Ringtone from iPhone to Android
- 13. Popular iPhone Ringtone Remix
- Transfer Audio Media to iPhone
- 1. Send Ringtone from iPhone to iPhone
- 2. Transfer MP3 to iPhone
- 3. Transfer Audiobook from PC to iPhone
- 4. Transfer Songs from CD to iPhone
- 5. Put Ringtones on iPhone
- Transfer Music from iPhone
- 1. Transfer Music from iPhone to computer
- 2. Transfer Music from iPhone to iCloud
- 3. Transfer Music from iPhone to Android
- 4. Transfer Music from iPhone to iPod
- 5. Put Music on iPhone from Computer
- 6. Add Music to iPhone from Computer
- 7. Sync Apple Music Library
- Transfer Music from iTunes
- 1. Transfer Music from iTunes to iPhone
- 2. Transfer Music from Mac to iPhone
- 3. Transfer Music from Laptop to iPhone
- Transfer Music to iPhone
- 1. Transfer Music from Computer to iPhone
- 2. Transfer Music from Mac to iPhone
- 3. Transfer Music from Mac to iPhone
- 4. Music from PC to iPhone
- 5. Music from PC to iPhone without iTunes
- 6. Transfer Music from Android to iPhone
- 7. Transfer Music from iPad to iPhone
- 8. Transfer Music from iPod/iPhone
- 9. Transfer Music from iPhone to iPhone
- 10. Transfer Music from External Hard Drive
- 11. Transfer to iPhone without iTunes
- 12. Transfer Music to Jailbroken iPhone
- 13. Transfer Music to iPhone
- Transfer Music to iTunes/PC
- 1. Transfer Music from iPhone to iTunes
- 2. Transfer Music from iPhone to PC
- 3. Transfer Music from iPhone to Mac
- 4. Transfer Music between PC and iPhone
- 5. Transfer Music from to PC without iTunes
- 6. Sync Apple Music from iPhone to Mac
- iPhone Music Problems
- 1. Song Missing After iOS Update
- 2. Music Won't Play on iPhone
- 3. iPhone Plays Music by Itself
- 4. Apple Music Song Is Not Available
- 5.Fix Apple Music Library Not Syncing
- iPhone Music Tips
- ● Manage/transfer/recover data
- ● Unlock screen/activate/FRP lock
- ● Fix most iOS and Android issues
- Transfer Now Transfer Now Transfer Now


Alice MJ
staff Editor