How to Transfer Photos from Samsung S20 to PC?
Jul 12, 2024 • Filed to: Manage Device Data • Proven solutions
It is thrilling to capture life moments with Samsung S20. You enjoy taking the high-definition photos of different items and everything else around you. Now, you would want to keep the memories in a safe place, right? Then your PC must cross your mind when you think of storing.
All of you might think, "Why should we keep our photos offline when we can do it in cloud source?" Yes, it can be true to some extent, but do you know that even high-speed networks can sometimes stop working when you need photos? Why take this risk when you can easily store the pictures on your PC or restore to Mac?
To be able to store the photos on your PC, you must know how to transfer photos from Samsung to PC with or without a cable. The following information guides you to ensure the transfer happens successfully without damage or loss of any picture. Read along and learn.
Part 1: How to Transfer Photos from Samsung S20 to PC with Cable?
Do you have a bunch of photos from the recent event that are taking most of your android space? Using a cable is the best and easiest way to transfer these photos from your Samsung to PC. To assist you in doing that, you need a Dr.Fone - Phone Manager (Android) that specializes in the safe transfer of photos. The phone manager comes with a lot of features such as:
Features:
- Safely transfer your photos between your Samsung S20 and PC
- It helps you sort out pictures in different albums. It can also add, delete, or rename your photo collections.
- When you finish, you can safely delete unwanted android photos in batches or one by one on your PC
- It also helps you convert HEIC photos to JPG without affecting the quality of photos.
Dr.Fone comes in handy to make sure that you not only transfer the photos but also do it safely. The following are the steps on how to transfer photos from Samsung S20 to PC with the help of a cable and Dr.Fone:
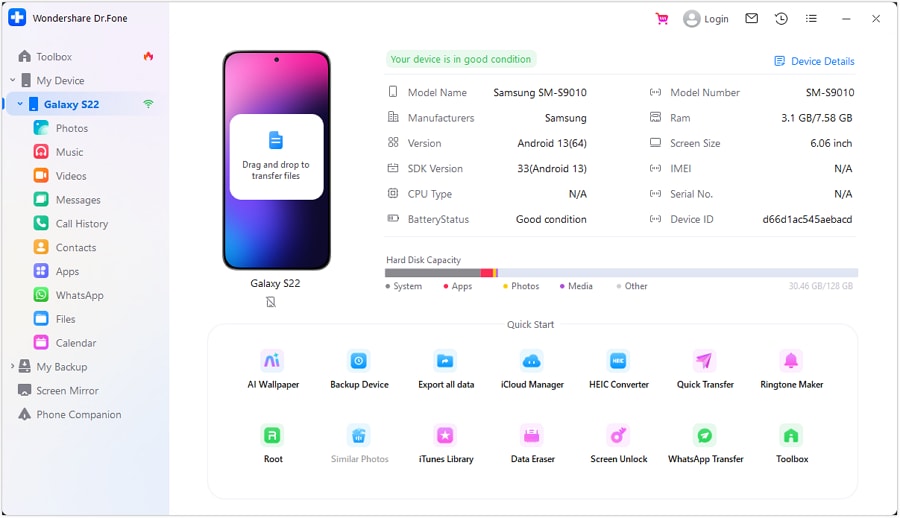
Transfer all pictures to pc in one-click
Step 1: The first thing you need to do is to download and install the Dr.Fone - Phone Manager.
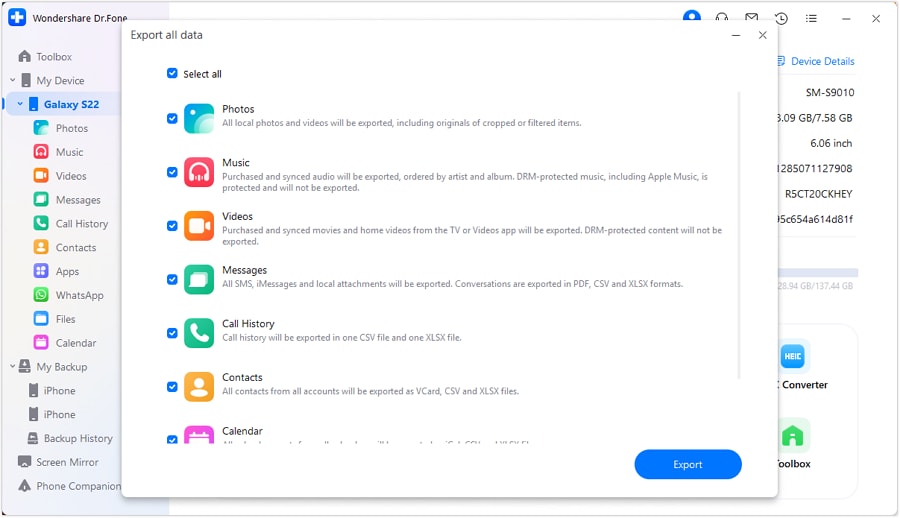
Step 2: The next thing you do is connect your Samsung S20 to the computer via cable. After that, select the third option i.e. "Transfer Device Photos to PC." This will transfer all pictures to pc in one click.
Transfer part of photos to pc
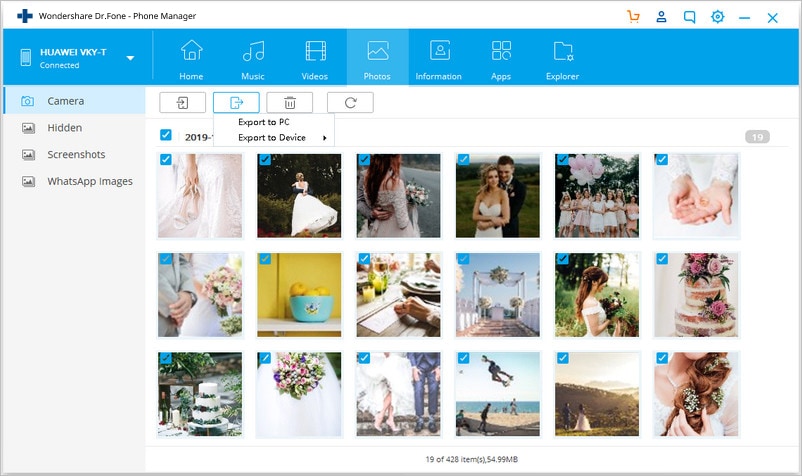
Step 1: Select the “Photos” option on Phone Manager software. You see all your pictures on your android under the photo category. Now, open one folder on the left sidebar and select the images that you want to transfer. Click on export, then expert to PC. Lastly, choose the destination from your PC. Photo transfer starts immediately.
Step 2: Once the transfer is over, you can choose to close or open the folder to check the photos on your PC.
Note: Do you want to transfer the entire photo album instead of picking one by one? You can do it!
Part 2: How to Transfer Photos from Samsung S20 to PC without USB cable
What if you don't have a cable to make connections, can you still transfer photos from your Samsung to PC? The answer is yes. You can do it by using Dropbox. Firstly, you need to move your photos to the cloud source and then to your PC. Sounds simple, right?
In this method, you need to keep a backup at the cloud source. It means that in case anything happens to your PC, the photos are still available.
Do you have any limitations in this method? Well, there are two. Firstly, the process requires data or high-speed internet. Secondly, dropbox only has 2 GB space for basic free account hence not suitable for bulk transfer. So, if you have a few photos that you want to transfer, then follow the following steps:
Stepwise Procedure:
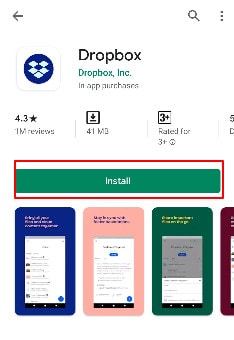
Step 1: Go to play store. Download and install dropbox.
Step 2: You should first login into your excising Dropbox account. Or else, you can click on sign up to create a free account.

Step 3: The next step after opening a new dropbox account is to create a new folder and then tap on the upload icon. That opens the storage of your device. Select the photos you want to upload to dropbox and wait for a while for the pictures to upload.

Step 4: Note that you can also upload by keeping auto-sync mode ON. To do that, visit the dropbox settings and set the "camera upload" option to ON.
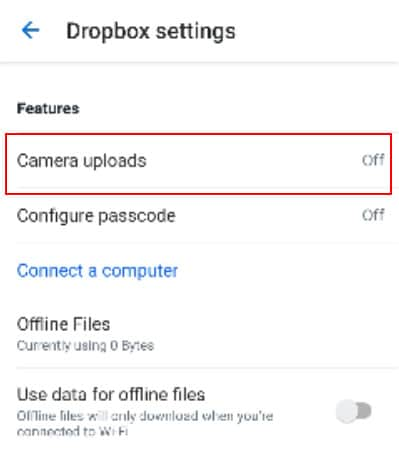
Step 5: Now, login to Dropbox on your PC using the same log in details. Go to the folder and select the photos you want to transfer from the cloud source to the PC. Clicking on download saves the picture on your PC. After that, you can store the images to your preferred destination in PC.

Part 3: How to Transfer Photos from Samsung S20 to PC Using Bluetooth
You might be wondering if this is possible between android and PC, right? Well, with advanced technology, you can pair your PC with your Samsung and transfer your photos quickly. Are you still wondering how to transfer photos from Samsung S20 to PC? So, here is an easy way of doing it.
For that to happen, the PC and Samsung should pair up first. It means both devices must have Bluetooth set to ON. Use the following steps to transfer photos from Samsung to PC using Bluetooth pairing:
Stepwise Procedure:
Step 1: First of all, long-press the picture that you want to move and tap the "share" sign at the bottom of the page.
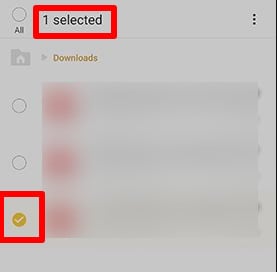
Step 2: Several options of sharing will appear on your screen. Here, tap on Bluetooth sharing option.
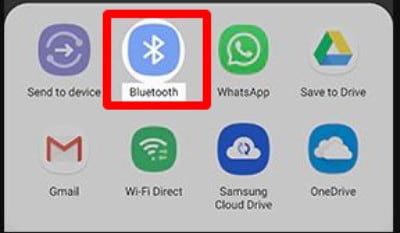
Step 3: Now, your phone will look for the available devices. It will list all devices, including the Bluetooth name of your PC. Select it.
Step 4: On the PC, select "accept the incoming files," which are the photos, and the transfer begins.
That's it. It's that simple. It is a fantastic way of transferring photos from Samsung S20 to PC. The method is suitable for transferring fewer photos.
Part 4: How to Transfer Photos from S20 to PC with Wi-Fi
In this method, we will see how to transfer photos from Samsung S20 to PC with the help of Wi-Fi. Here you will need to use Google drive. Not many Google account holders know that they have 15GB free space on Google drive just by having a Google account. You can take advantage of the free space to transfer photos to and from your devices. You are asking "how", right?
Just as you use data and internet to transfer photos using dropbox, you can do so by using Google drive. First of all, you will move pictures to Google Drive and then log in to Google drive on your PC to download them. The limit is the same. Here also, the method will consume your data. Besides, it is suitable for moving a small number of photos.
The advantage you get is you create a backup on the Google drive. Since Google is widespread, and many people have Google accounts, they prefer to use this method since it is simple. Check out the following steps to transfer the images:
Stepwise Procedure:
Step 1: Install the Google Drive app on your Samsung phone. After that, you can start the transfer process by tapping on the "+" icon. You will find this option at the bottom.
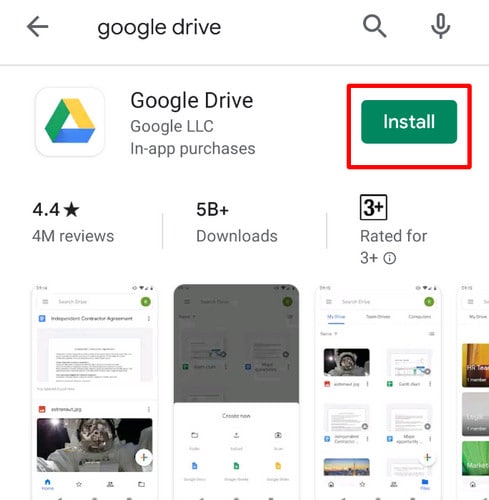
Step 2: The app asks you what type of files you want to add. Here, click on the "upload" button.
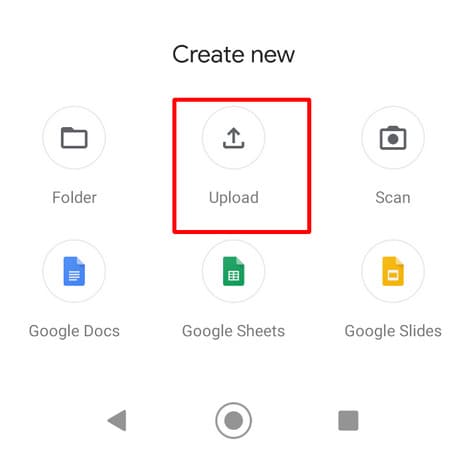
Step 3: Once you click the "Upload" button, it will take you to the device's storage. Now, select the photos and upload them to your Google Drive account. Note that uploading saves your pictures in the Google drive automatically.
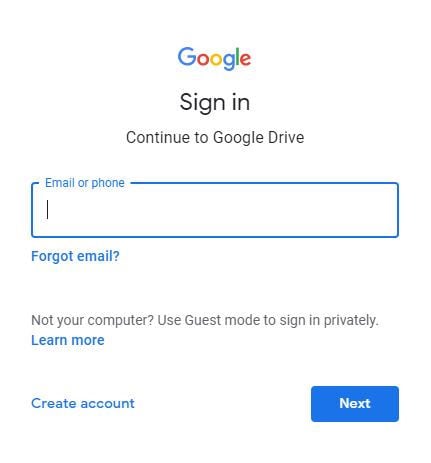
Step 4: To access the photos in your PC, go to the official Google Drive website and log in.
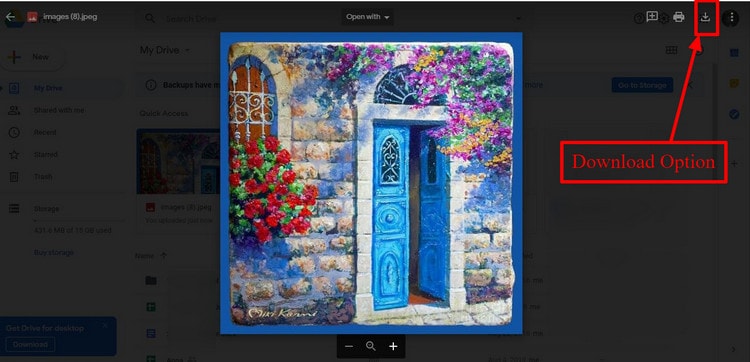
Step 5: Go to the folder that contains your pictures. Select them.
Step 6: Now, right-click on the picture. Select "download" option to have them to your PC. There is also separate download option available at the right corner.
Quick Recap:
In the Dropbox and Google drive method, you need to have good internet connections for the transfer to be complete. It limits the number of photos you can transfer. Hence, those methods are not appropriate for a bunch of pictures. The Bluetooth process requires you to pair your Samsung phone with PC, which at times, take a lot of time.
But, here's the kicker. It means that though you have four options to choose from, the first method to transfer photos from Samsung S20 to your PC using Dr.Fone - Phone Manager seems to be the best one. That is because it allows you to move, manage, and sort your photos with ease. The best part is that you can transfer photos in bulk quantity. It allows you to safely move your pictures from your Samsung phone to your PC with no loss of any photo. That way, your memories are safe for you to check out whenever you want to.
Over to You!
Keeping your memories intact is now easy. In the past, you didn't have many options to transfer photos from Samsung S20 to PC. But, now you have the above options. The steps are clear, and all you have to do is choose one that is convenient for you. You can select Dr.Fone phone manager to make the process further easier.
Samsung Manage
- Samsung Data Manage
- 1. Best Samsung Manager
- 2. Manage Contacts on S9/S8
- 3. Manage Music on Samsung
- 4. Manage Music on Samsung S8
- 5. Transfer Photos to Samsung S8
- 6. Manage Photos on Samsung S9
- 7. Best Galaxy S9 Manager
- 8. Samsung Gear Manager
- 9. Samsung Task Manager
- 10. Remove Samsung Bloatware
- Samsung Erase
- 1. Tips for Selling Old Samsung
- 2. Wipe A Samsung Phone
- 3. Tips to Erase Data
- 4. Remove Samsung Apps
- 5. Uninstall Apps on Samsung
- Samsung Mirror
- 1. Share the Phone Screen
- 2. Screen mirror to Samsung TV
- 3. Use Allshare Cast To Mirror
- 4. Samsung Mirror Screen to PC
- Samsung Record
- 1. Screen Record on Samsung A50
- 2. Screen Record on Samsung S10
- 3. Screen Record on Samsung s9
- 4. Samsung S8 Screen Record
- 5. Top Samsung Screen Recorder
- Samsung Root
- 1. Root Samsung Galaxy S7
- 2. Jailbreak Samsung Phones
- 3. Root Samsung Galaxy S3
- 4. Root Samsung Galaxy S4
- 5. Root Samsung Galaxy S5
- 6. Root Samsung Galaxy J5
- 7. Samsung Root Apps Without PC
- 8. Top 6 Samsung Root Software
- 9. Used Apps to Root Samsung Note
- 10. Root Samsung Galaxy S3 mini
- 11. Root Galaxy Tab 2 7.0
- 12. Unroot Android Devices
- Samsung to Mac
- 1. Transfer Photos to Mac
- 2. Samsung File Transfer for Mac
- 3. Transfer Photos from Samsung
- 4. Transfer Pictures to Mac
- 5. Transfer Pictures from Samsung
- 6. Transfer Files to Macbook
- Samsung to PC
- 1. Transfer Contact from Samsung
- 2. Transfer Photos to PC
- 3. Transfer Photos to Laptop
- 4. Transfer Photos from Samsung
- 5. Transfer Files to PC
- 6. Transfer Photos From Note 8 to PC
- USB Debugging
- Samsung Tips
- ● Manage/transfer/recover data
- ● Unlock screen/activate/FRP lock
- ● Fix most iOS and Android issues
- Manage Now Manage Now Manage Now


Alice MJ
staff Editor